
Picture 5
Sample1

Picture 4
For the shape i used my linol shape from chapter 2 and made a complete shape from this smal piece.

Picture 3
Picture 2 and 3 show the way I prepared my felt, before I cut

Picture 2

Picture 1
From the top to the bottem:
Laced insertion stitch, simple insertion stitch, plaited insertion stitch, bottenhole insertion stitch,
beaded insertion stitch, bottenhole bar, machine stitching
Chapter 10 INLAY APPLIQUE
It was interisting to do this work. I used different felt pieces, at some time i bonded coloured "Bonda-web, or made handstitcheing before I cut them in pieces.
I had a lot of fun with the differnt insertion stitches, and was surprised about the effect that I had have with the last piece- positive and negative shapes swapped.
 Picture 10
 Picture 9
 Picture 8
 Picture 7
 Picture 6
 Picture 5
 Picture 4
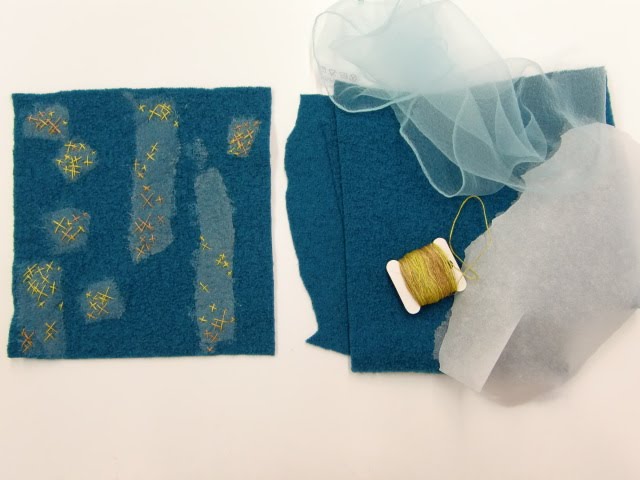 Picture 3
 Picture 2
 Picture 1
 Picture5
 Picture 4
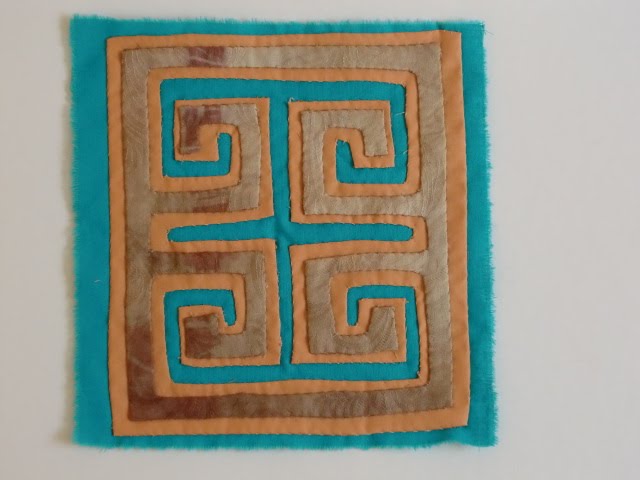 Picture 3
 Picture 2
 Picture 1
